Installing a pad
Posted: Wed Sep 23, 2009 8:44 am
I posted this over on another board and thought you guys might like it.
This evening I had to get my wife's gun finished for her duck hunting trip this weekend. I have been fitting the gun to her over the last week and had the pad left to install. Due to her gun fit I had to add a negative pitch spacer (thicker on the toe than the heel) to give her a setup of 60/40 pattern on the patterning board.
From time to time I have seen people on this forum asking about pad installation. I thought I would show the steps and method I use. It is actually a very simple process which may seem harder than it really is until you see how it is done. Below are my steps.
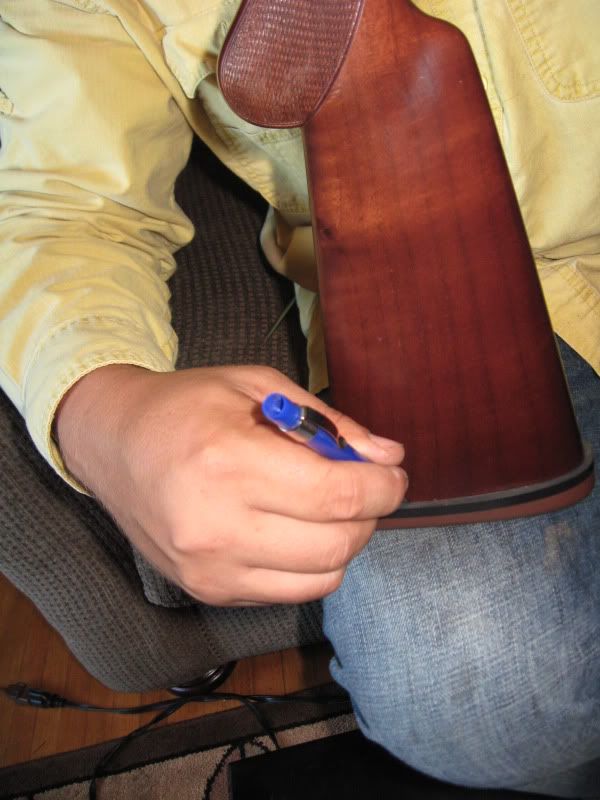
1. First I attach the pad to the base of the gun and trace the outline of the stock onto the pad
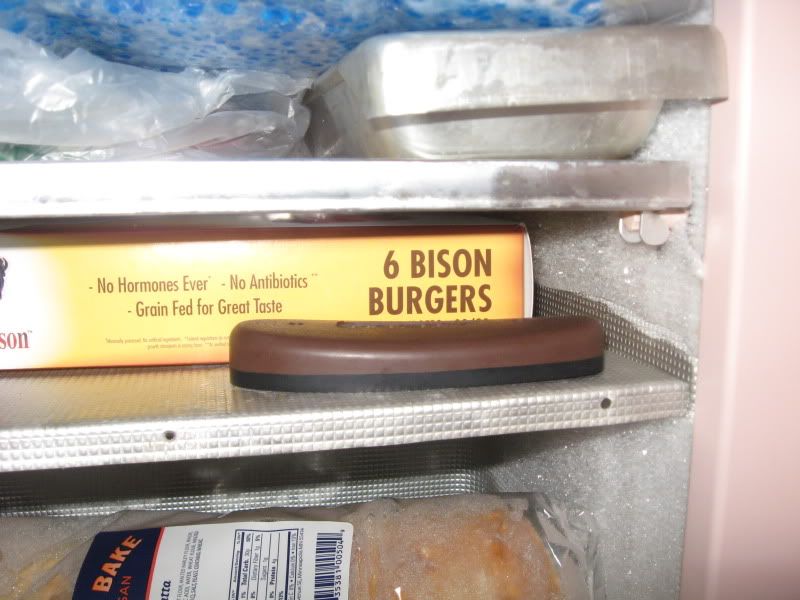
2. Next I put the the pad in the freezer over night to harden the rubber to make the pad grind easier. The toe often is difficult to grind even due to the softness of the rubber. That is where freezing the pad comes in handy.
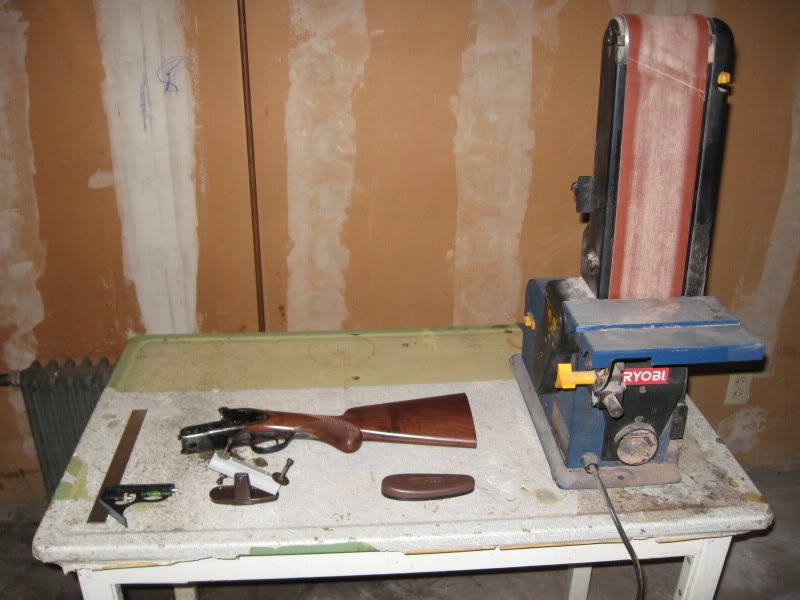
3. The tools used: I use an upright belt sander with 180 grit paper. I also use a pad grinding jig (Miles Gilbert, cost $50.00), square, screwdriver, furniture oil, and a sanding block.
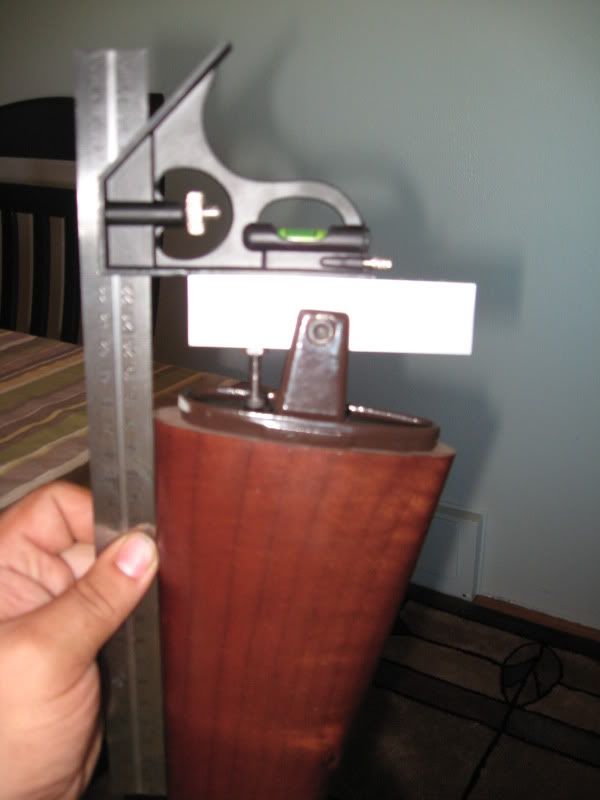
4. I first set up the angle of the heel for grinding by putting the jig on the stock.
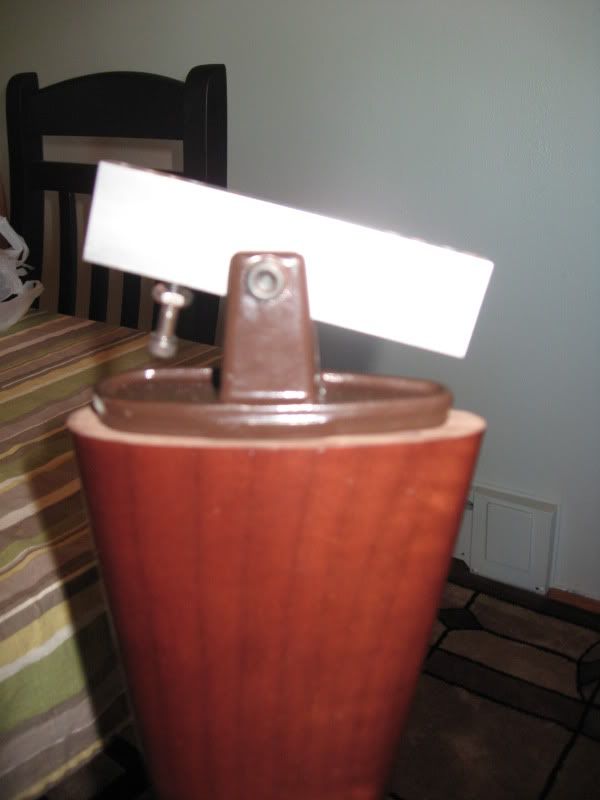
The bolt under the aluminum bar screws out until it bottoms out on the bottom of the jig. That is where you tighten it down for the correct heel pitch.
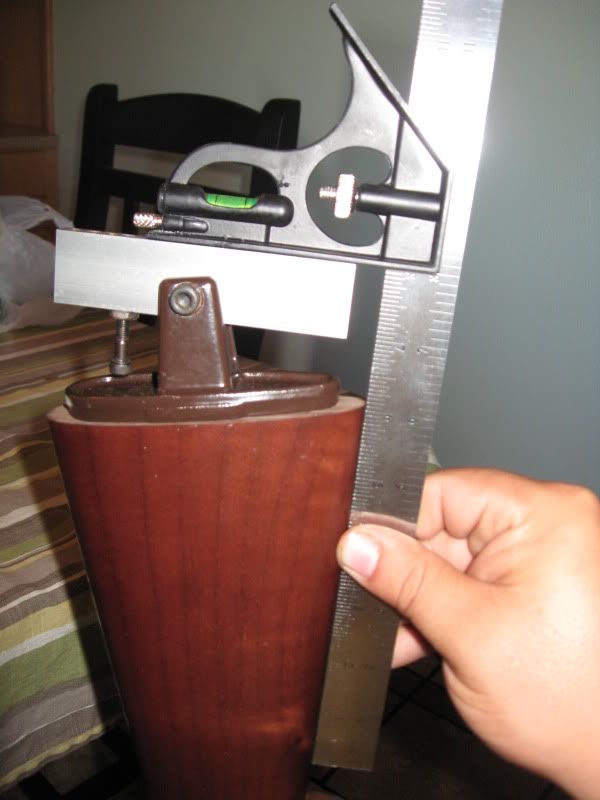
5. I next set the pitch for the toe to be ground. The center bolt that holds the aluminum bar is tightened to hold the angle.
6. I now bolt the pad to the jig and begin to grind the toe of the pad.
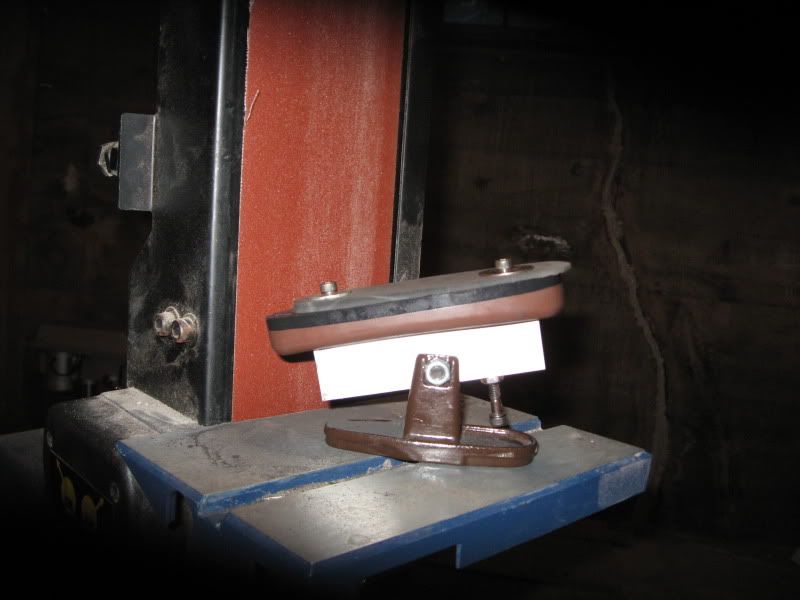
I grind to about the mid point of the pad to ensure the sides stay even for the final fitting.
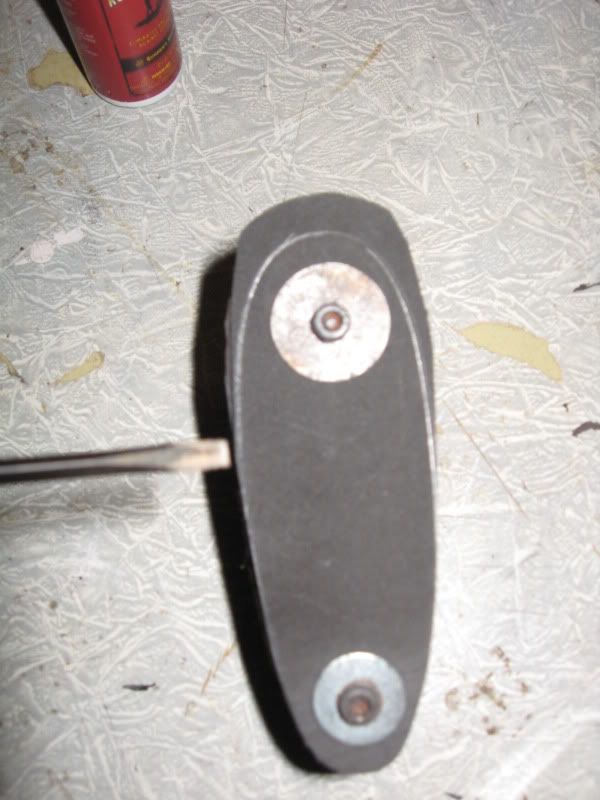
7. Next I loosen the center bolt and tip the pad down until the bolt bottoms out on the jig like in step 4.
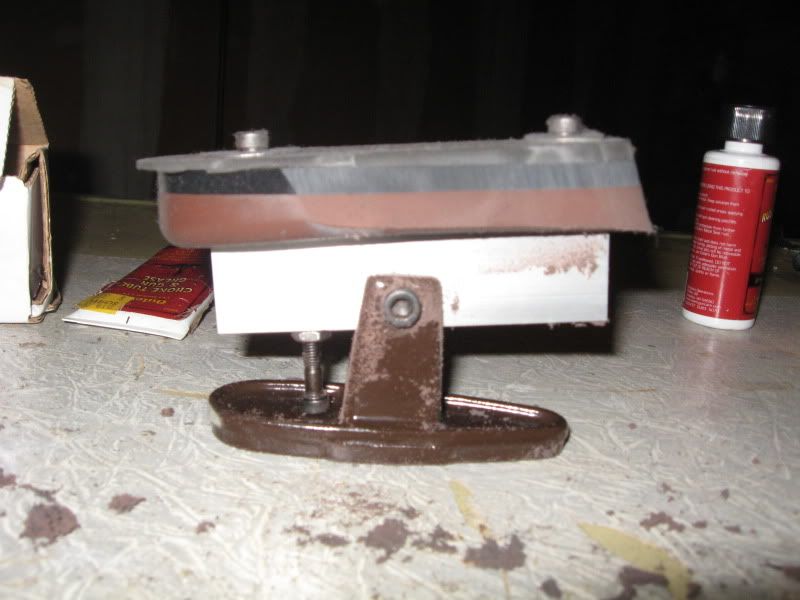
I tighten the center bolt again to hold the angle and then I grind the heel.
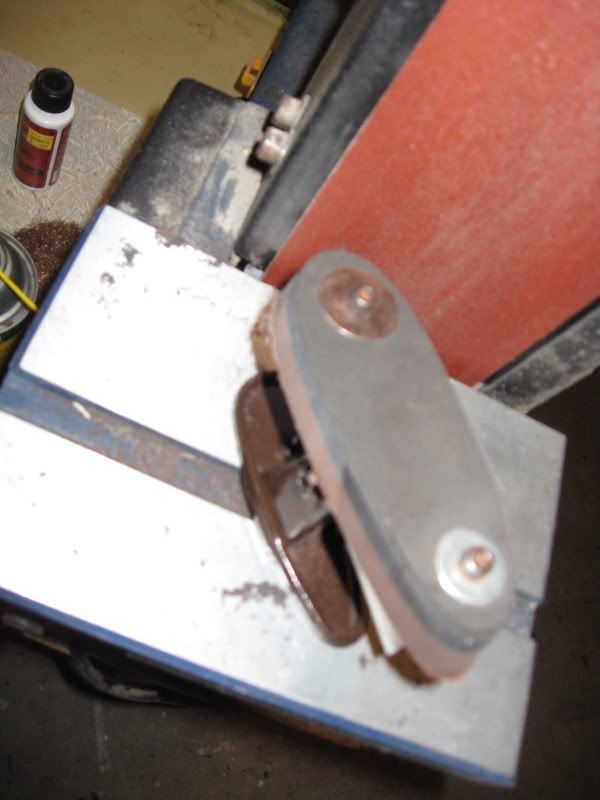
8. I next take the pad and the spacer off of the jig.
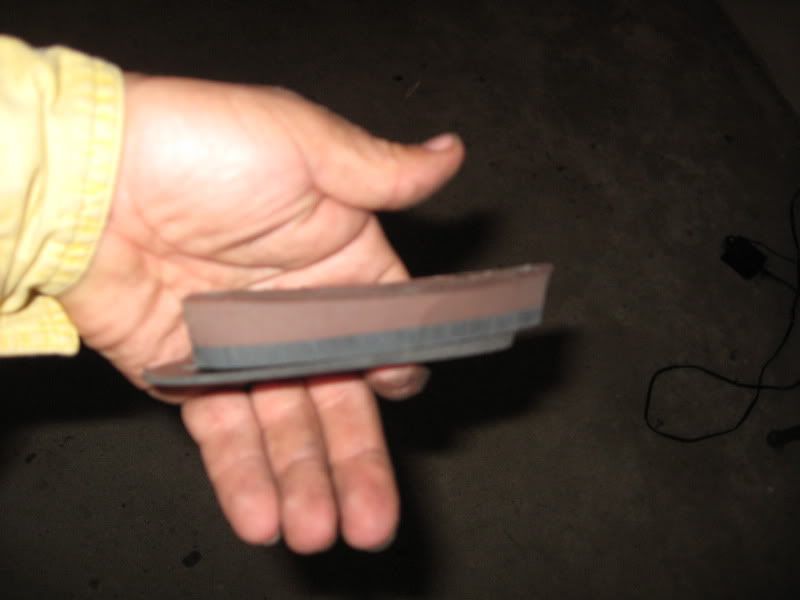
Then I reattach it to the stock which has had black electrical tape carefully wrapped around the stock to protect the finish during pad installation.
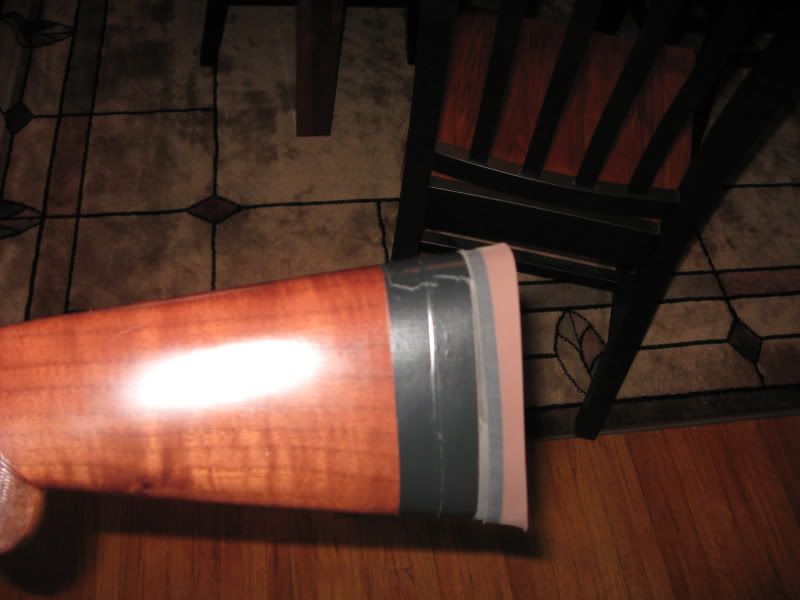
9. Here is the pad installed with the sanding block and oil I use.
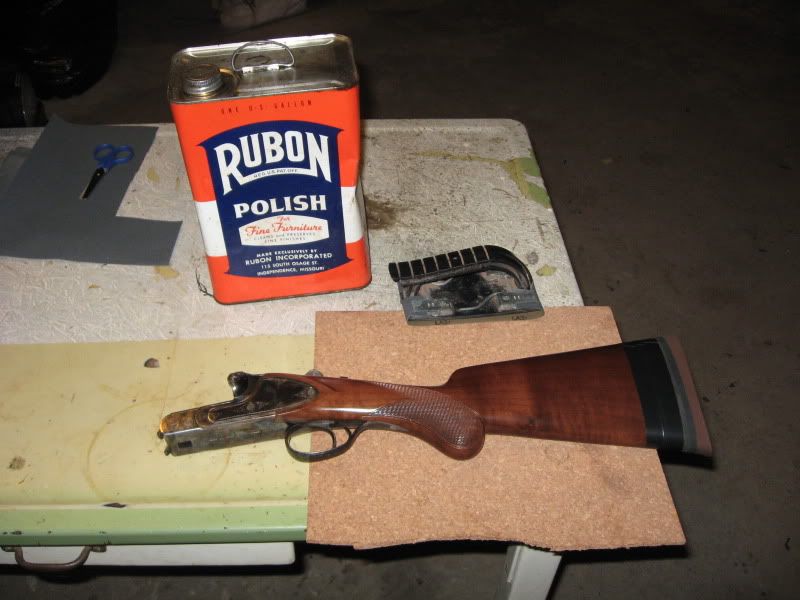
I wet the pad down with the furniture oil prior to sanding.
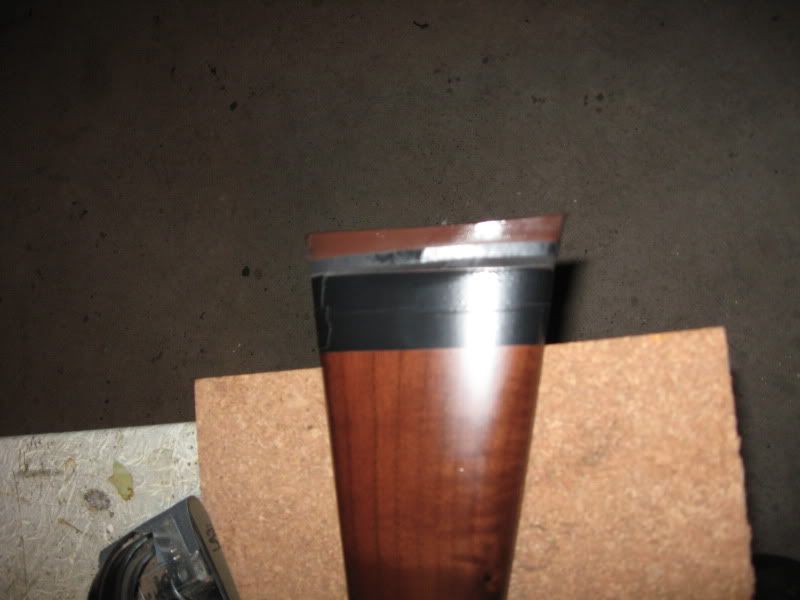
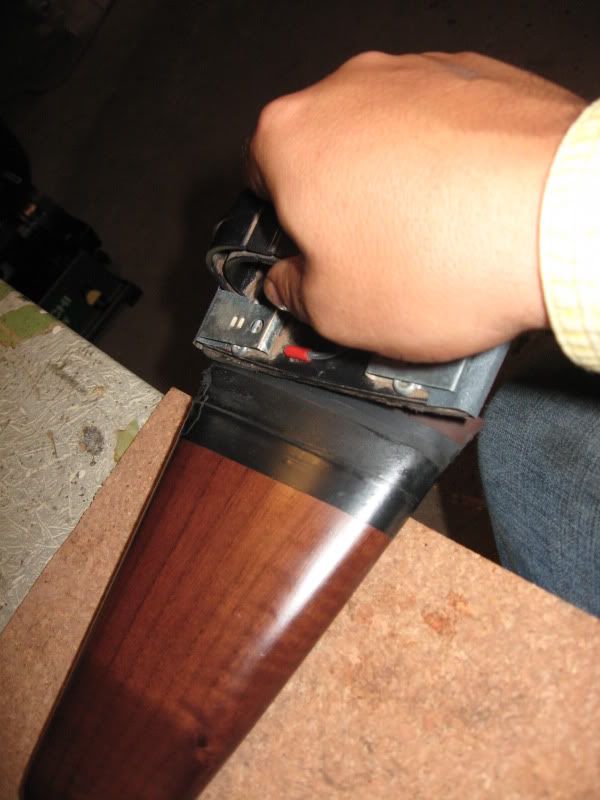
I then begin to sand using wet/dry sand paper in 180 grit. I wet the pad down often while sanding. I finish the pad off with 220 grit.
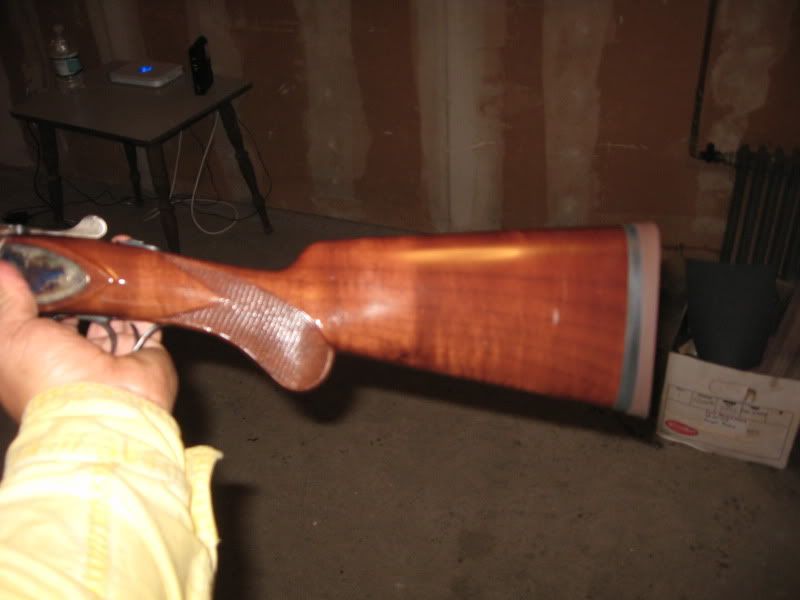
10.The finished product.
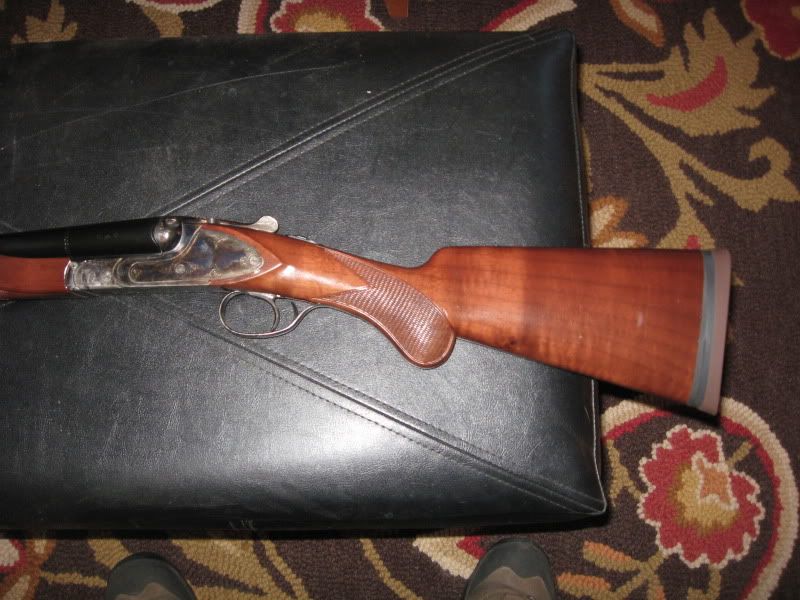
I highly recommend the jig. I have ground pads for myself and friends so it has paid for itself many times over. The time spent on the project was around 2-2 1/2hrs in total. I hope you enjoyed the pictorial and it will inspire some of you to try on your own.
This evening I had to get my wife's gun finished for her duck hunting trip this weekend. I have been fitting the gun to her over the last week and had the pad left to install. Due to her gun fit I had to add a negative pitch spacer (thicker on the toe than the heel) to give her a setup of 60/40 pattern on the patterning board.
From time to time I have seen people on this forum asking about pad installation. I thought I would show the steps and method I use. It is actually a very simple process which may seem harder than it really is until you see how it is done. Below are my steps.
1. First I attach the pad to the base of the gun and trace the outline of the stock onto the pad
2. Next I put the the pad in the freezer over night to harden the rubber to make the pad grind easier. The toe often is difficult to grind even due to the softness of the rubber. That is where freezing the pad comes in handy.
3. The tools used: I use an upright belt sander with 180 grit paper. I also use a pad grinding jig (Miles Gilbert, cost $50.00), square, screwdriver, furniture oil, and a sanding block.
4. I first set up the angle of the heel for grinding by putting the jig on the stock.
The bolt under the aluminum bar screws out until it bottoms out on the bottom of the jig. That is where you tighten it down for the correct heel pitch.
5. I next set the pitch for the toe to be ground. The center bolt that holds the aluminum bar is tightened to hold the angle.
6. I now bolt the pad to the jig and begin to grind the toe of the pad.
I grind to about the mid point of the pad to ensure the sides stay even for the final fitting.
7. Next I loosen the center bolt and tip the pad down until the bolt bottoms out on the jig like in step 4.
I tighten the center bolt again to hold the angle and then I grind the heel.
8. I next take the pad and the spacer off of the jig.
Then I reattach it to the stock which has had black electrical tape carefully wrapped around the stock to protect the finish during pad installation.
9. Here is the pad installed with the sanding block and oil I use.
I wet the pad down with the furniture oil prior to sanding.
I then begin to sand using wet/dry sand paper in 180 grit. I wet the pad down often while sanding. I finish the pad off with 220 grit.
10.The finished product.
I highly recommend the jig. I have ground pads for myself and friends so it has paid for itself many times over. The time spent on the project was around 2-2 1/2hrs in total. I hope you enjoyed the pictorial and it will inspire some of you to try on your own.
 . She loves to shoot but does not like to dive into it that much. I must have done my job well because we went out back and I ran 25 clays through my thrower. She shot 20 out of 25 from the low gun position. Prior to that she couldn't hit the side of a barn with that gun. It was way too long and the pitch was off. Luckily I did not have to adjust the cast for her so that sped the process up. I have to do a pad up for my brothers Sterlingworth and one for my Remington Model 10 Trap gun next. They are fun to do. Relaxing and takes my mind off of work. Thanks guys for the compliments. I thought people might enjoy seeing how to grind one.