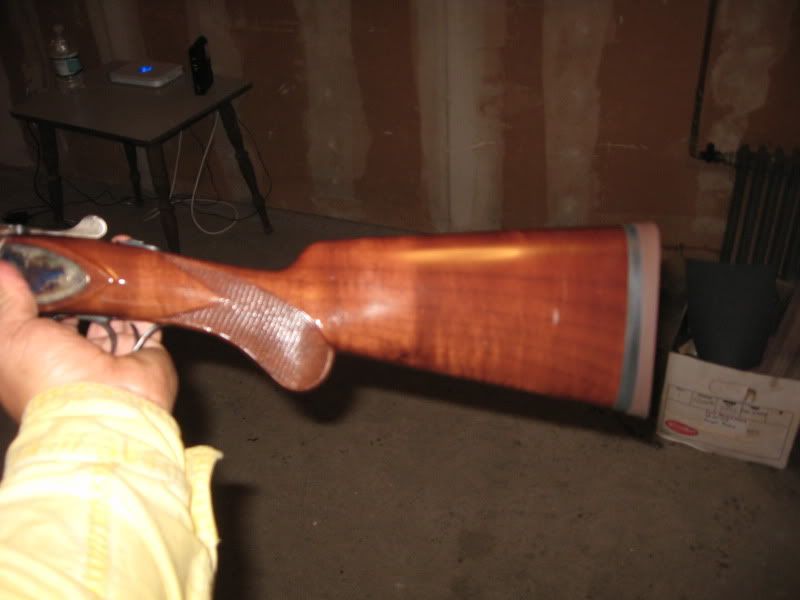
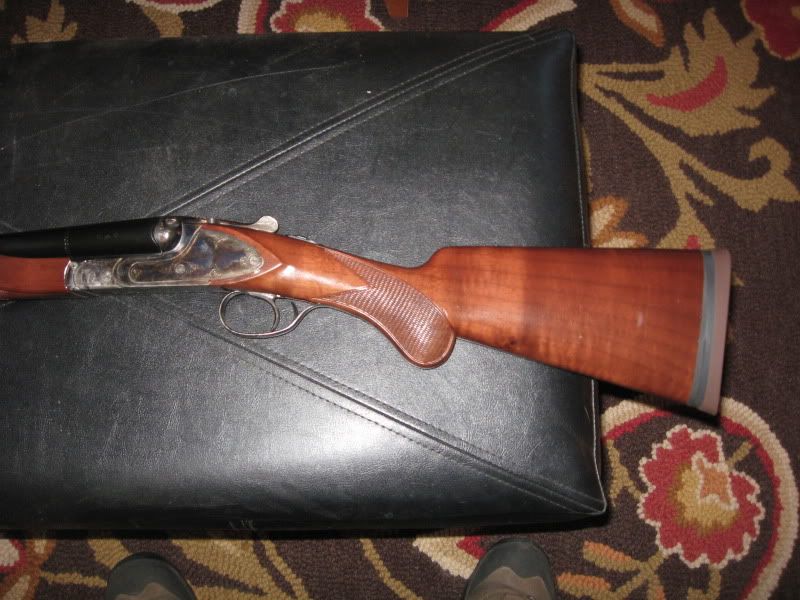
Installing a pad

NO ITEMS MAY BE POSTED FOR SALE ON THIS FORUM or direct references to items for sale. This includes, but is not limited to, the following: A personal item that’s obviously for sale or would appear to be for sale; or if a link is posted to some other site where the item is for sale. Please note that references to items posted elsewhere are ok for discussion as long as a direct link is not included. Any "Wanted to Buy" posts are not allowed and will be removed. The moderators will delete any posts that are deemed offensive, abusive or slanderous in nature. Commercial operations or businesses may not advertise nor appear to advertise their products or services, either directly, or indirectly by a second party, except for simple reference as a source for such products or services
Post Reply
wburns
Posts: 18
Joined: Thu Dec 11, 2008 7:45 pm
Location: Linton, ND

Installing a pad

Post by wburns »

I posted this over on another board and thought you guys might like it.

This evening I had to get my wife's gun finished for her duck hunting trip this weekend. I have been fitting the gun to her over the last week and had the pad left to install. Due to her gun fit I had to add a negative pitch spacer (thicker on the toe than the heel) to give her a setup of 60/40 pattern on the patterning board.

From time to time I have seen people on this forum asking about pad installation. I thought I would show the steps and method I use. It is actually a very simple process which may seem harder than it really is until you see how it is done. Below are my steps.

1. First I attach the pad to the base of the gun and trace the outline of the stock onto the pad
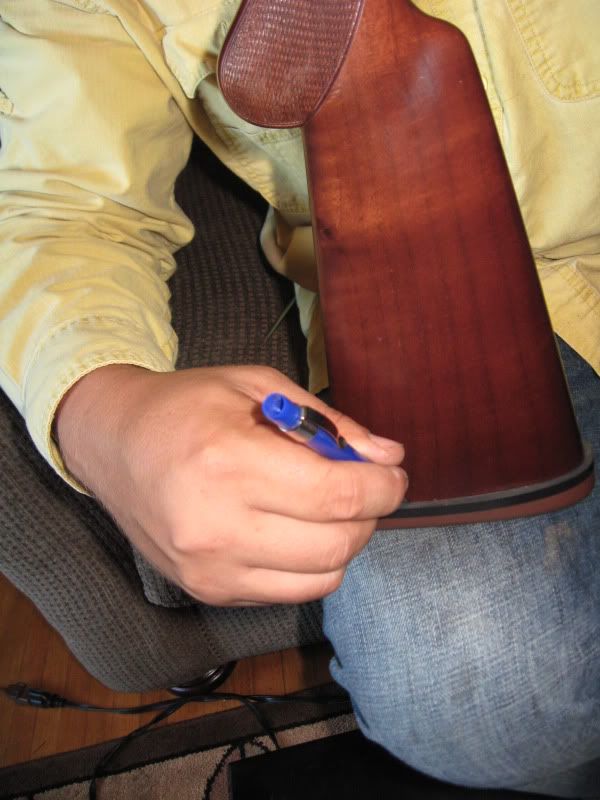
Image

2. Next I put the the pad in the freezer over night to harden the rubber to make the pad grind easier. The toe often is difficult to grind even due to the softness of the rubber. That is where freezing the pad comes in handy.
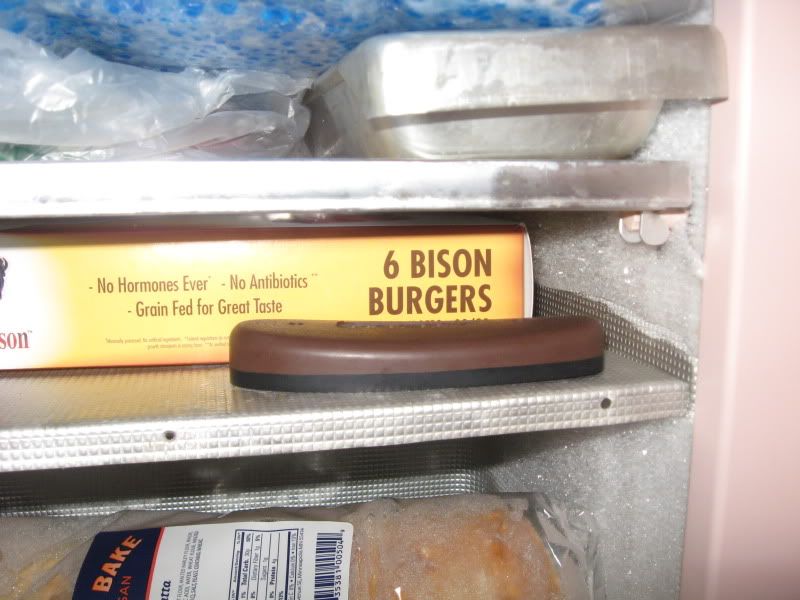
Image

3. The tools used: I use an upright belt sander with 180 grit paper. I also use a pad grinding jig (Miles Gilbert, cost $50.00), square, screwdriver, furniture oil, and a sanding block.
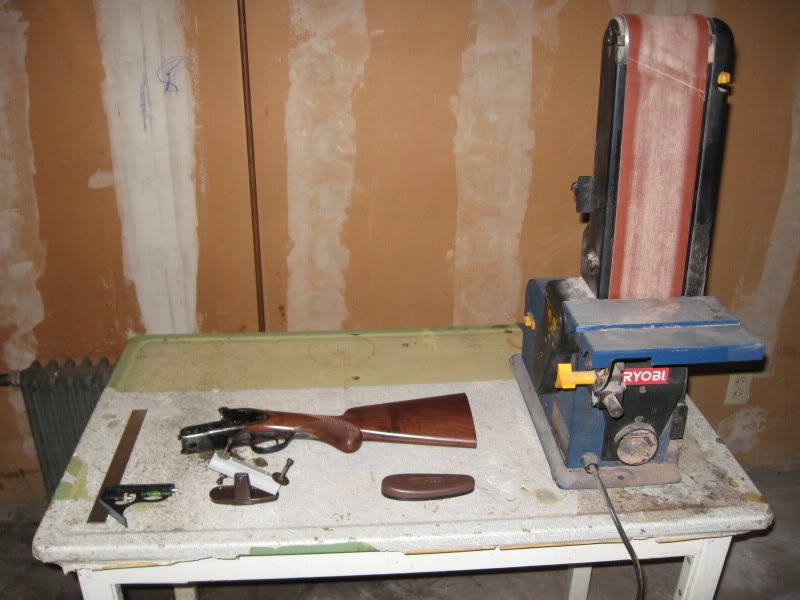
Image

4. I first set up the angle of the heel for grinding by putting the jig on the stock.
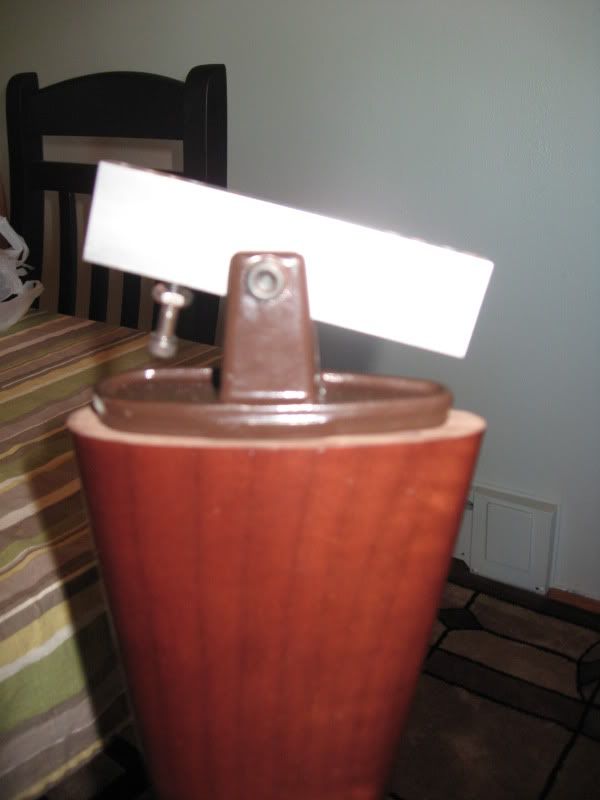
Image

The bolt under the aluminum bar screws out until it bottoms out on the bottom of the jig. That is where you tighten it down for the correct heel pitch.
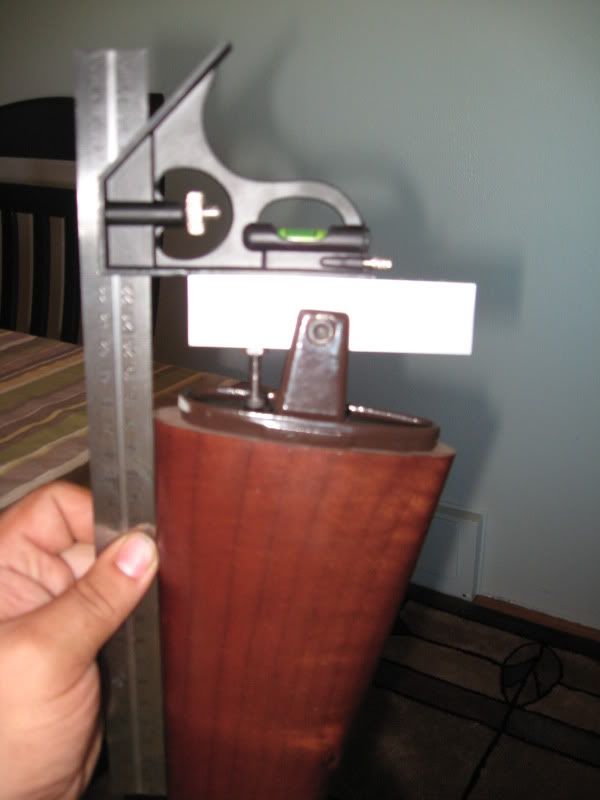
Image

5. I next set the pitch for the toe to be ground. The center bolt that holds the aluminum bar is tightened to hold the angle.
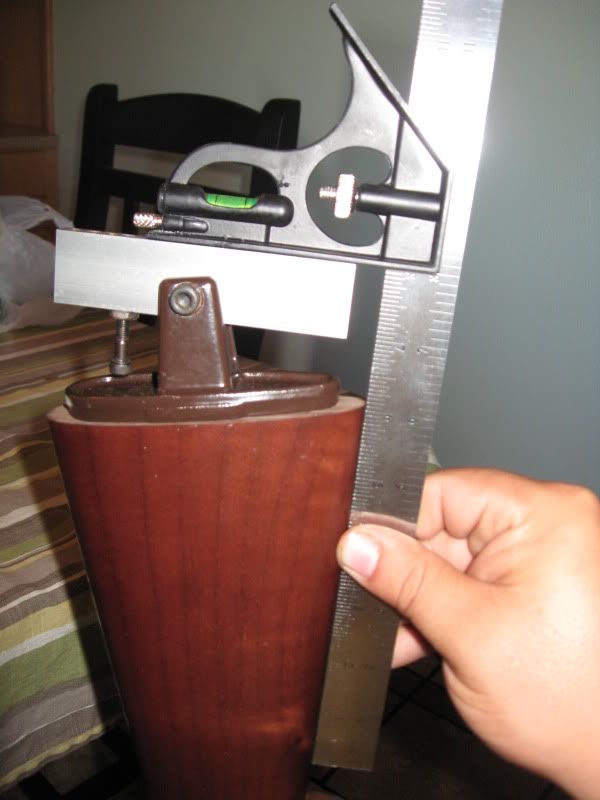
Image

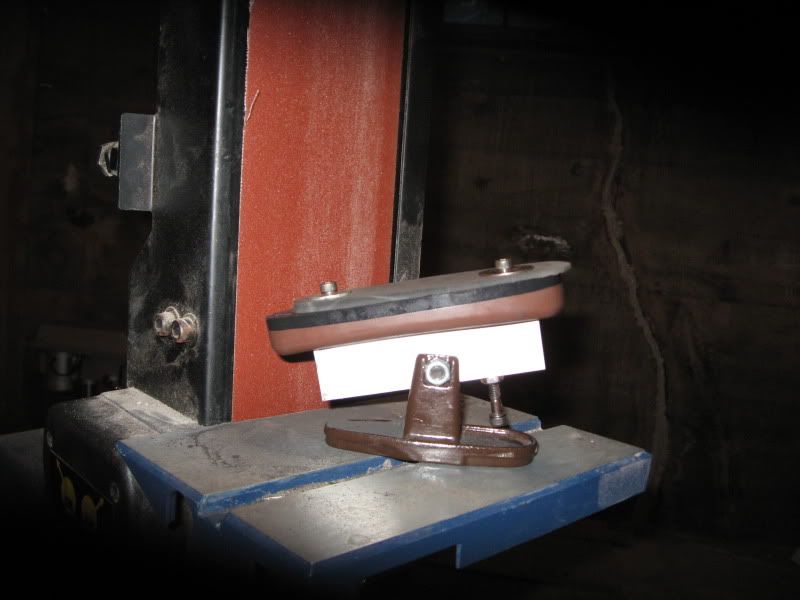
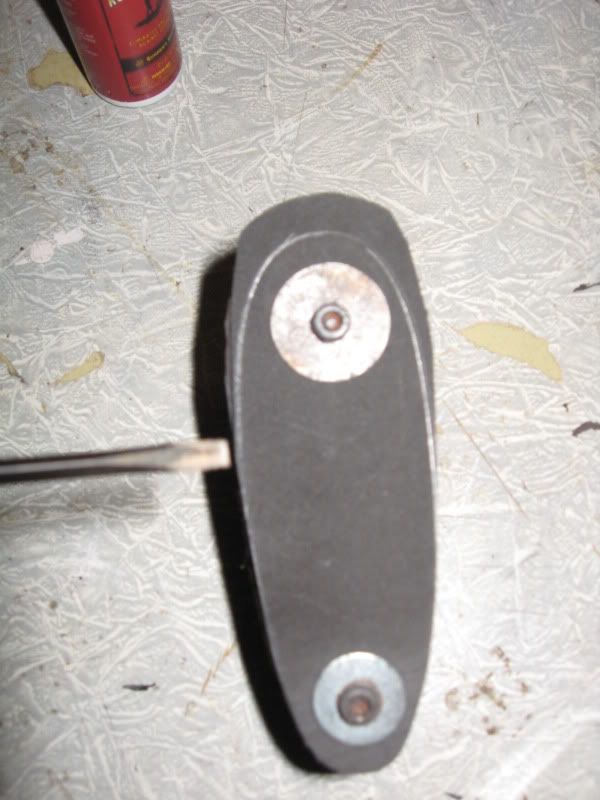
6. I now bolt the pad to the jig and begin to grind the toe of the pad.
Image

I grind to about the mid point of the pad to ensure the sides stay even for the final fitting.
Image

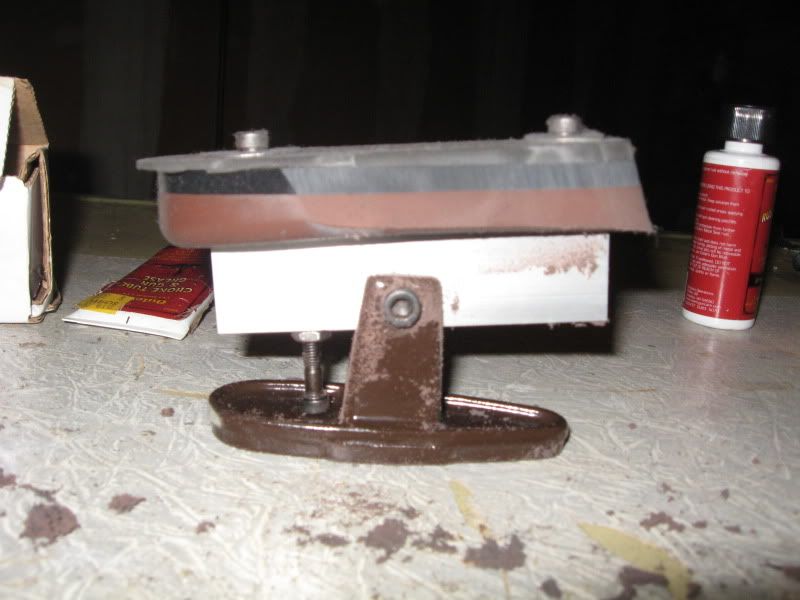
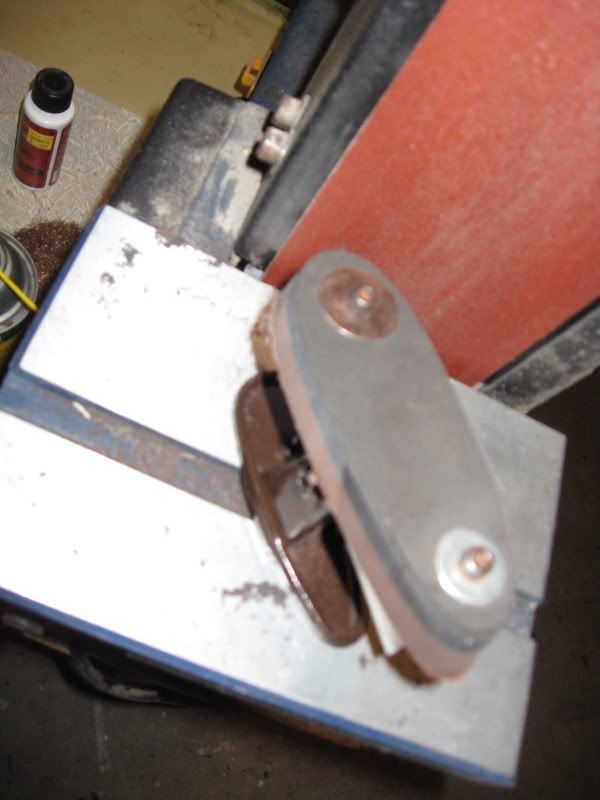
7. Next I loosen the center bolt and tip the pad down until the bolt bottoms out on the jig like in step 4.
Image

I tighten the center bolt again to hold the angle and then I grind the heel.
Image

8. I next take the pad and the spacer off of the jig.
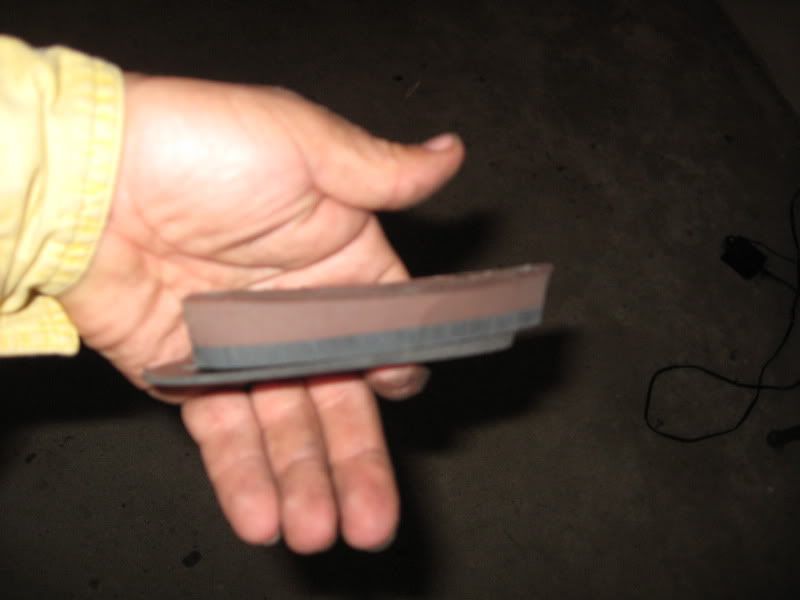
Image

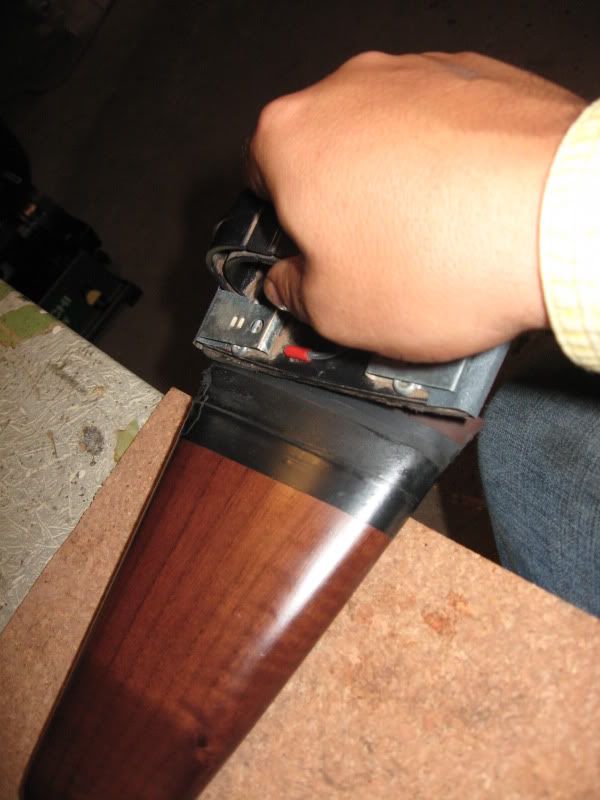
Then I reattach it to the stock which has had black electrical tape carefully wrapped around the stock to protect the finish during pad installation.
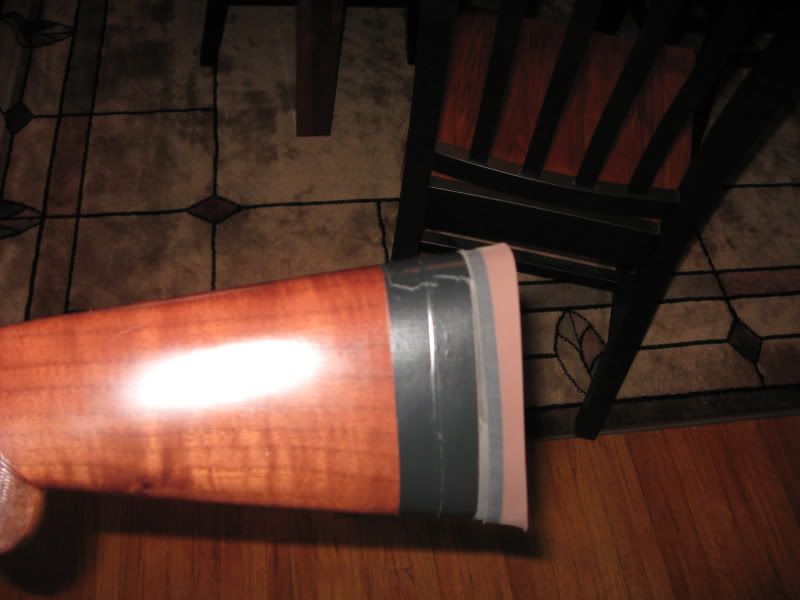
Image

9. Here is the pad installed with the sanding block and oil I use.
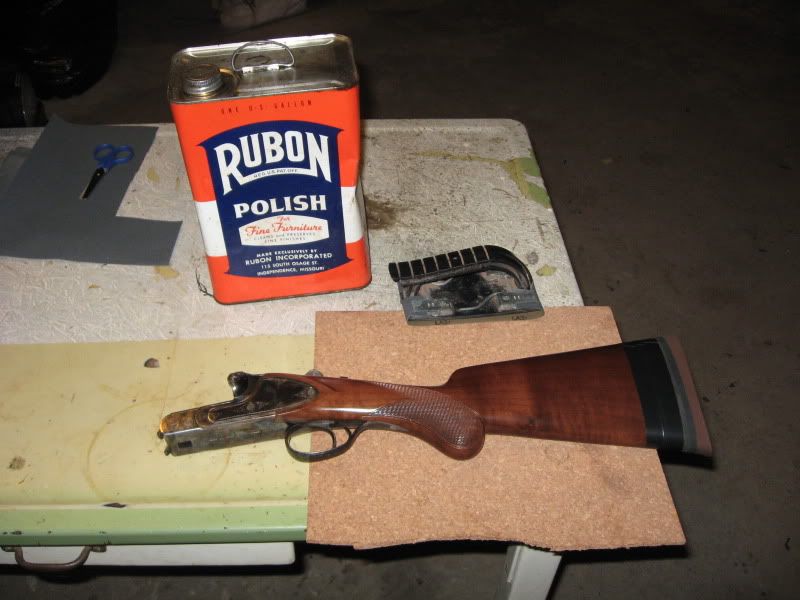
Image

I wet the pad down with the furniture oil prior to sanding.
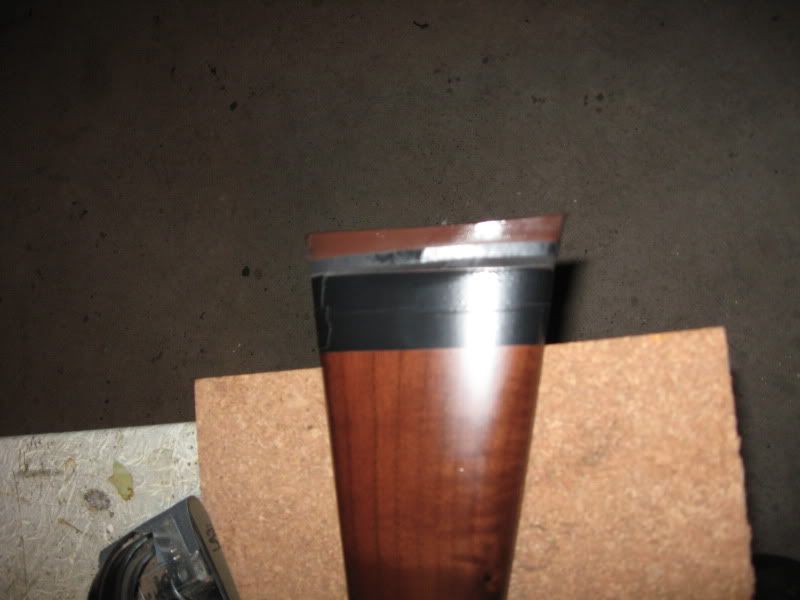
Image

I then begin to sand using wet/dry sand paper in 180 grit. I wet the pad down often while sanding. I finish the pad off with 220 grit.
Image

10.The finished product.
Image
Image

I highly recommend the jig. I have ground pads for myself and friends so it has paid for itself many times over. The time spent on the project was around 2-2 1/2hrs in total. I hope you enjoyed the pictorial and it will inspire some of you to try on your own.
ASavageFox
Posts: 552
Joined: Thu Feb 05, 2009 8:23 pm

Re: Installing a pad

Post by ASavageFox »

Very cool... thanks for sharing!
Cheers!
lee r moege
Posts: 128
Joined: Mon Apr 20, 2009 1:43 pm
Location: holton, ks

Re: Installing a pad

Post by lee r moege »

Great photos on this proceedure. I use the same thing and method and have for as long as Brownells have had the jig. You said this was your wifes gun and I wanted to see if you allowed her the opportunity to help in the installation as I recently did. I recently replaced the pad on one of my Mannlicher=Shoenauer rifles and had it all fit and scribed ready for sanding on the belt sander. As I had recently had cataract surgery and was having a little trouble seeing the scribed line, I asked my wife to come down to the shop and hold a very bright light in such a manner as I could clearly see the scribed line. Bless her heart, it was a Black Decilerator pad and when we finished I was in deep doo doo. She had no gray showing anymore and had rubber dust from head to foot. Moral is, sometimes to much togetherness goes a long way and could be fatal. Happy sanding! Lee.
wburns
Posts: 18
Joined: Thu Dec 11, 2008 7:45 pm
Location: Linton, ND

Re: Installing a pad

Post by wburns »

Lee, I did the grinding :D . She loves to shoot but does not like to dive into it that much. I must have done my job well because we went out back and I ran 25 clays through my thrower. She shot 20 out of 25 from the low gun position. Prior to that she couldn't hit the side of a barn with that gun. It was way too long and the pitch was off. Luckily I did not have to adjust the cast for her so that sped the process up. I have to do a pad up for my brothers Sterlingworth and one for my Remington Model 10 Trap gun next. They are fun to do. Relaxing and takes my mind off of work. Thanks guys for the compliments. I thought people might enjoy seeing how to grind one.
lee r moege
Posts: 128
Joined: Mon Apr 20, 2009 1:43 pm
Location: holton, ks

Re: Installing a pad

Post by lee r moege »

I thought of something else to share that I use in installing pads that may be of interest to the viewers. I have to cut off most stocks of course either in building new, changing pitch,or shortening to compensate for pad installation. I have a piece of Blanchard ground steel about 8" long, 2 1/2" wide, and 5/8" thick that I put a piece of double face carpet tape on, then I cut a strip of sandpaper [usually 220 grit] and stick to the block. By pushing it flat across the butt you can get a really flat surface that I check as I go with a Starrett 6" bevel edge machinist square.The weight of the block makes it easy to hold flat against the surface of the butt. I usually take the stock to my local cabinet shop where we use a chop/miter saw with a laser guide to cut the stock. Most of the time on English and harder woods it comes out fine but may have some light saw marks on softer wood. I used to use the belt sander to flatten the butt, but have found in my old age I sometimes can't get it as flat as I want. Using the block gets it really flat. I have also had to grind the back of a pad, particularly if you are using a pad with a spur that you want removed like the Silvers style I get from Tony G. You can lay the pad on the block and get the base really flat also. I have also gotten some pads from Brownells that even after putting them in some hot water and bending them won't come straight enough to sit flat on the butt. I wonder if they have been on the shelf to long sometimes. I you check with the machinst square and they are not slightly concave from side to side they won't pull down flat easily. This method will get a full contact joint. Most importantly, after I have the wood flat and a tight joint I put a couple of coats of finish on the butt and let it dry. Then I check the fit again before sanding the profile on the jig. After the pad is profiled I put a last coat on wet and screw the pad on. This will give a really tight seal and waterproof the butt. I usually use Tru-Oil as it is a little thicker than the stock finish I usually use. I hope this is usefull to someone and not to wordy. This works well if you are putting a pad on a long gun and don't want to remove the wood from the gun as in just replacing a pad without cutting any wood like I did on the Mannlicher. Lee.
Post Reply